Introduction
Hydrometers. Every brewer knows what they are, right? Those glass floaty things that tell you how much sugar is in your wort, must, or cider. Maybe you’ve broken more than you’ve owned?
You may be thinking, “What is there to really tell about hydrometers?” You sort of drop it in the liquid, read where the line meets the liquid, and you’ve got your reading, right?
Hydrometers are relatively inexpensive, functional, and easy to use, so they are quite a value, but there are quite a few tricks to make sure you are getting accurate results. Sure, you can just grab a sample in a tube, drop a hydrometer in, and get a ready. Sometimes “good enough” is fine. But for those who really want to know how to use this precision instrument, we’re about to go deep on hydrometers. Really deep. Like Inception bottom dream layer deep. Are you ready for the kick?
What About Refractometers?!
Hey, refractometers are great too. We use them over here at Homebrewing DIY all the time. But despite how great refractometers are, sometimes there is no substitute for getting in there and getting a direct measurement of wort gravity. Refractometers will get some love, too, in an upcoming article, but in the meantime here is a preview of the pros and cons of refractometers vs. hydrometers:
Pros | Cons | |
Hydrometers | Give a direct measurement of gravity Most accurate | Large samples needed Samples need to be cooled unless you have a mash temp hydrometer |
Refractometers | Needs only small sample With ATC, can measure hot wort samples Excellent for measuring change in gravity over time using small samples | Need to determine wort correction factor for each Not accurate in many kinds of wort and beer, – including worts that are darker or have a lot of hop oils Need to correct readings for the Need to be regularly calibrated Not accurate enough for precise bottle conditioning Can be hard to get a clear reading |
Getting the Right Hydrometer(s)
If you still own the hydrometer that came with your beginner kit, you may only be familiar with one kind of hydrometer. However, there are many kinds, and you want to be deliberate when buying a new one.
Standard vs. Specialty Hydrometers.
You will want to ensure you have the correct hydrometer that is useful for brewing, which is often called a standard hydrometer or saccharometer. There are hydrometers for other uses that you should avoid, such as for distilling, salt water aquariums, petroleum products, and measuring milk, battery acid, antifreeze, and other exotic fluids.
The Scale
Two common types of hydrometers for home brewing are triple scale hydrometers and single scale hydrometers.
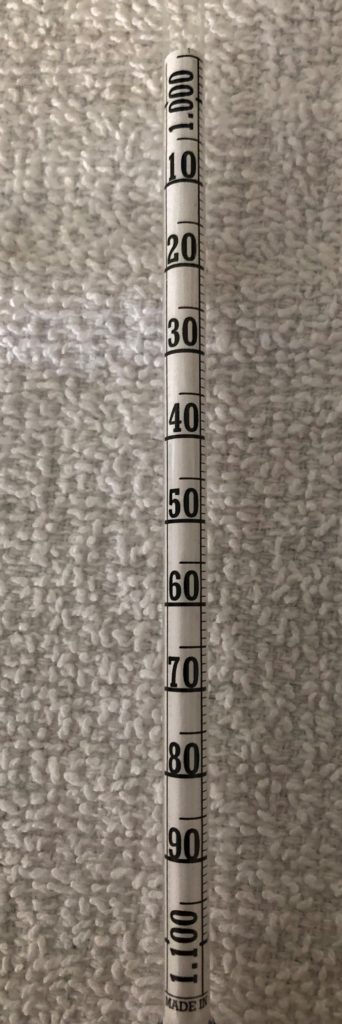
A triple scale hydrometer contains scales around its circumference for (a) specific gravity or SG (0.990 to 1.170), (b) potential alcohol (0% to 20%), and (c) Brix or Balling (0 to 36). The values in parentheses are typical ranges on a hydrometer, but the range may vary by model.
Kyle Hove of Brewing America suggests that you look for a hydrometer with very clear scales, as the graduations marks on the cheaper, colorful hydrometers can be very hard to read, especially in lower light conditions or as you get older.
Single scale hydrometers will have only a scale for either specific gravity or Brix or Balling.
Precision Scale Hydrometers
The standard hydrometer has a very wide range, and it can be difficult to get a very precise reading when precision matters. Enter the precision scale hydrometer, a type of single scale hydrometer that (duh) has a narrow range. They are sometimes called narrow-scale hydrometers.
Precision scale hydrometers often come in a set of three that together cover the typical gravity range for brewing, with some overlap. A typical set might cover SG 0.980 to 1.020, SG 1.000 to 1.070, and SG 1.060 to 1.130.
Pro Tip for Bottle Conditioners
Do yourself a favor and get yourself a finishing hydrometer, a precision scale hydrometer covering SG 0.980 to 1.020. This is a typical range for fermented alcoholic beverages, and will allow you to bottle condition your beers with confidence about the specific gravity at bottling. Remember that every 0.001 of specific gravity that ferments in the bottle will add 0.5 volumes to the carbonation level!
Better Hydrometers
Ashton Lewis, who is well known for writing the Mr. Wizard column in Brew Your Own magazine for years, tells a story about his frustration trying to get a set of accurately calibrated hydrometers. When he tested the first set delivered, the hydrometers were wildly off. He exchanged them and repeatedly had the same problem. He realized that even “professional caliber” hydrometers just aren’t made as well as they used to be. Kyle Hove explained to me that he and his wife Angela started their company, Brewing America, to make hydrometers when he broke his hydrometer and the Chinese-made replacement he bought was off by 0.008!
I knew this when I was buying a finishing hydrometer, and I took my testing cylinder and a bottle of distilled water to test all of the hydrometers in my LHBS for calibration. I ended up having to be satisfied with one that was only off by 0.001 specific gravity. Read more below about how to test and calibrate your hydrometers.
We are lucky that today better quality products are available. For example, pictured below is a hydrometer from Brewing America that is manufactured in the U.S.A. and guaranteed “NIST traceable”. NIST traceable means that the manufacturer America participates in the National Institute of Standards and Technology’s (NIST) National Voluntary Laboratory Accreditation Program. Brewing America must be equipped and able to calibrate equipment to NIST standards, to ensure that their products match NIST-maintained measurement standards, and that their hydrometers are part of an unbroken chain of instruments going back to the “official” national hydrometer.
How to Use a Hydrometer
OK, I know you’re thinking that I can’t be serious about explaining how to dunk one thing in another, right? After all, I’ll bet you’ve been dunking doughnuts in your coffee stout since back when music was good, and you don’t need me telling you that you’ve been dunking wrong. But trust me, there’s one right way to do it and it will make sense if you’ll bear with me for a moment.
Pulling a Sample
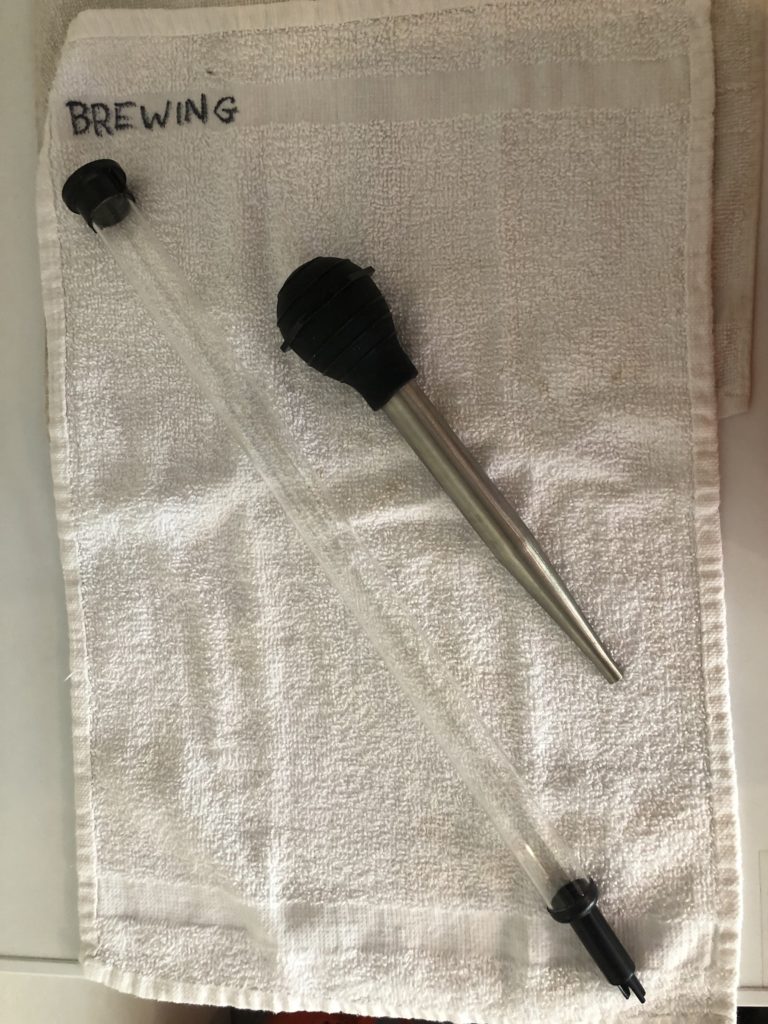
Getting a sample out of a fermentor is a fairly simple matter. Common tools are a beer thief, a wine thief, or a stainless steel turkey baster. Personally, I am not a huge fan of the wine thief because they are difficult or impossible to clean and to sanitize and the up and down pumping motion needed to get a sample creates an opportunity for oxidizing your beverage.
I often get asked if a cloudy sample will throw off a hydrometer reading. Typically no, because suspended particles in wort that cause cloudiness are not dissolved, while a hydrometer primarily measures sugar and other substances that are dissolved in the wort or must. In most cases the difference cannot be discerned to the human eye even if using a narrow scale hydrometer. However, if the amount of particles is high enough, then at some point it starts affecting the measurement. Think about how you are not more buoyant in a muddy lake compared to a clear lake, but in quicksand you are more buoyant.
Common Problems and Solutions
One technique for addresing a cloudy sample, other than taking a new sample, is to let the sample sit until particles drop out, and then only using the clear portion as the sample. Refrigerating the sample speeds the clearing process, and it is acceptable in many cases to stow away a sample and check it the next day..
One problem faced by many brewers is when sediment in the testing cylinder interferes with the free floating of the hydrometer. In that case, reserve the clear portion, pour off the sediment, clean the testing cylinder, and then fill the cylinder again.
Sanitation
Your sampling device should be sanitized to avoid contaminating your beverage. I prefer to use a stainless steel turkey baster with a silicone bulb because it is easy to clean, visually inspect cleanliness, and sanitize, and I can boil it to disinfect it.
Returning Samples to the Fermentor
If you plan to return the sample to the fermentor, you should also sanitize the testing cylinder and use aseptic practices when doing the testing. In my experience, returning a sample is safe if you use obsessive cleaning and sanitation practices, and I have not had any batches ruined by returning the sample. However, it is not riskless. Another issue to consider is whether your batch will be damaged by any dissolved oxygen picked up by the hydrometer sample. Most brewers tend to try to minimize their sample losses and perhaps brew slightly larger batches to compensate for losses.
Check out our sanitation article to get tips on cleaning and sanitation and which chemicals to use.
How Big of a Sample?
Because returning the sample to the fermentor is not an option most brewers want to pursue, it is important to minimize waste. However, as explained in the next section, using the properly high amount of wort or beer is essential to the proper hydrometer technique.

As explained below, the proper amount of sample is the volume that fills a tube to the very top, with perhaps some slight overflow. Therefore, it is a good idea to determine this volume using tap water and your hydrometer, and mark a “minimum fill line” on your sampe tube, with a Sharpie marker for example.
This is why narrow hydrometer testing cylinders, like this 125 ml borosilicate tube from Brewing America, are ideal for minimizing beer loss. Borosilicate glass is ideal for brewers because it won’t crack if you put hot wort in it, and for everyone because it can be sterilized in the oven or a pressure canner.
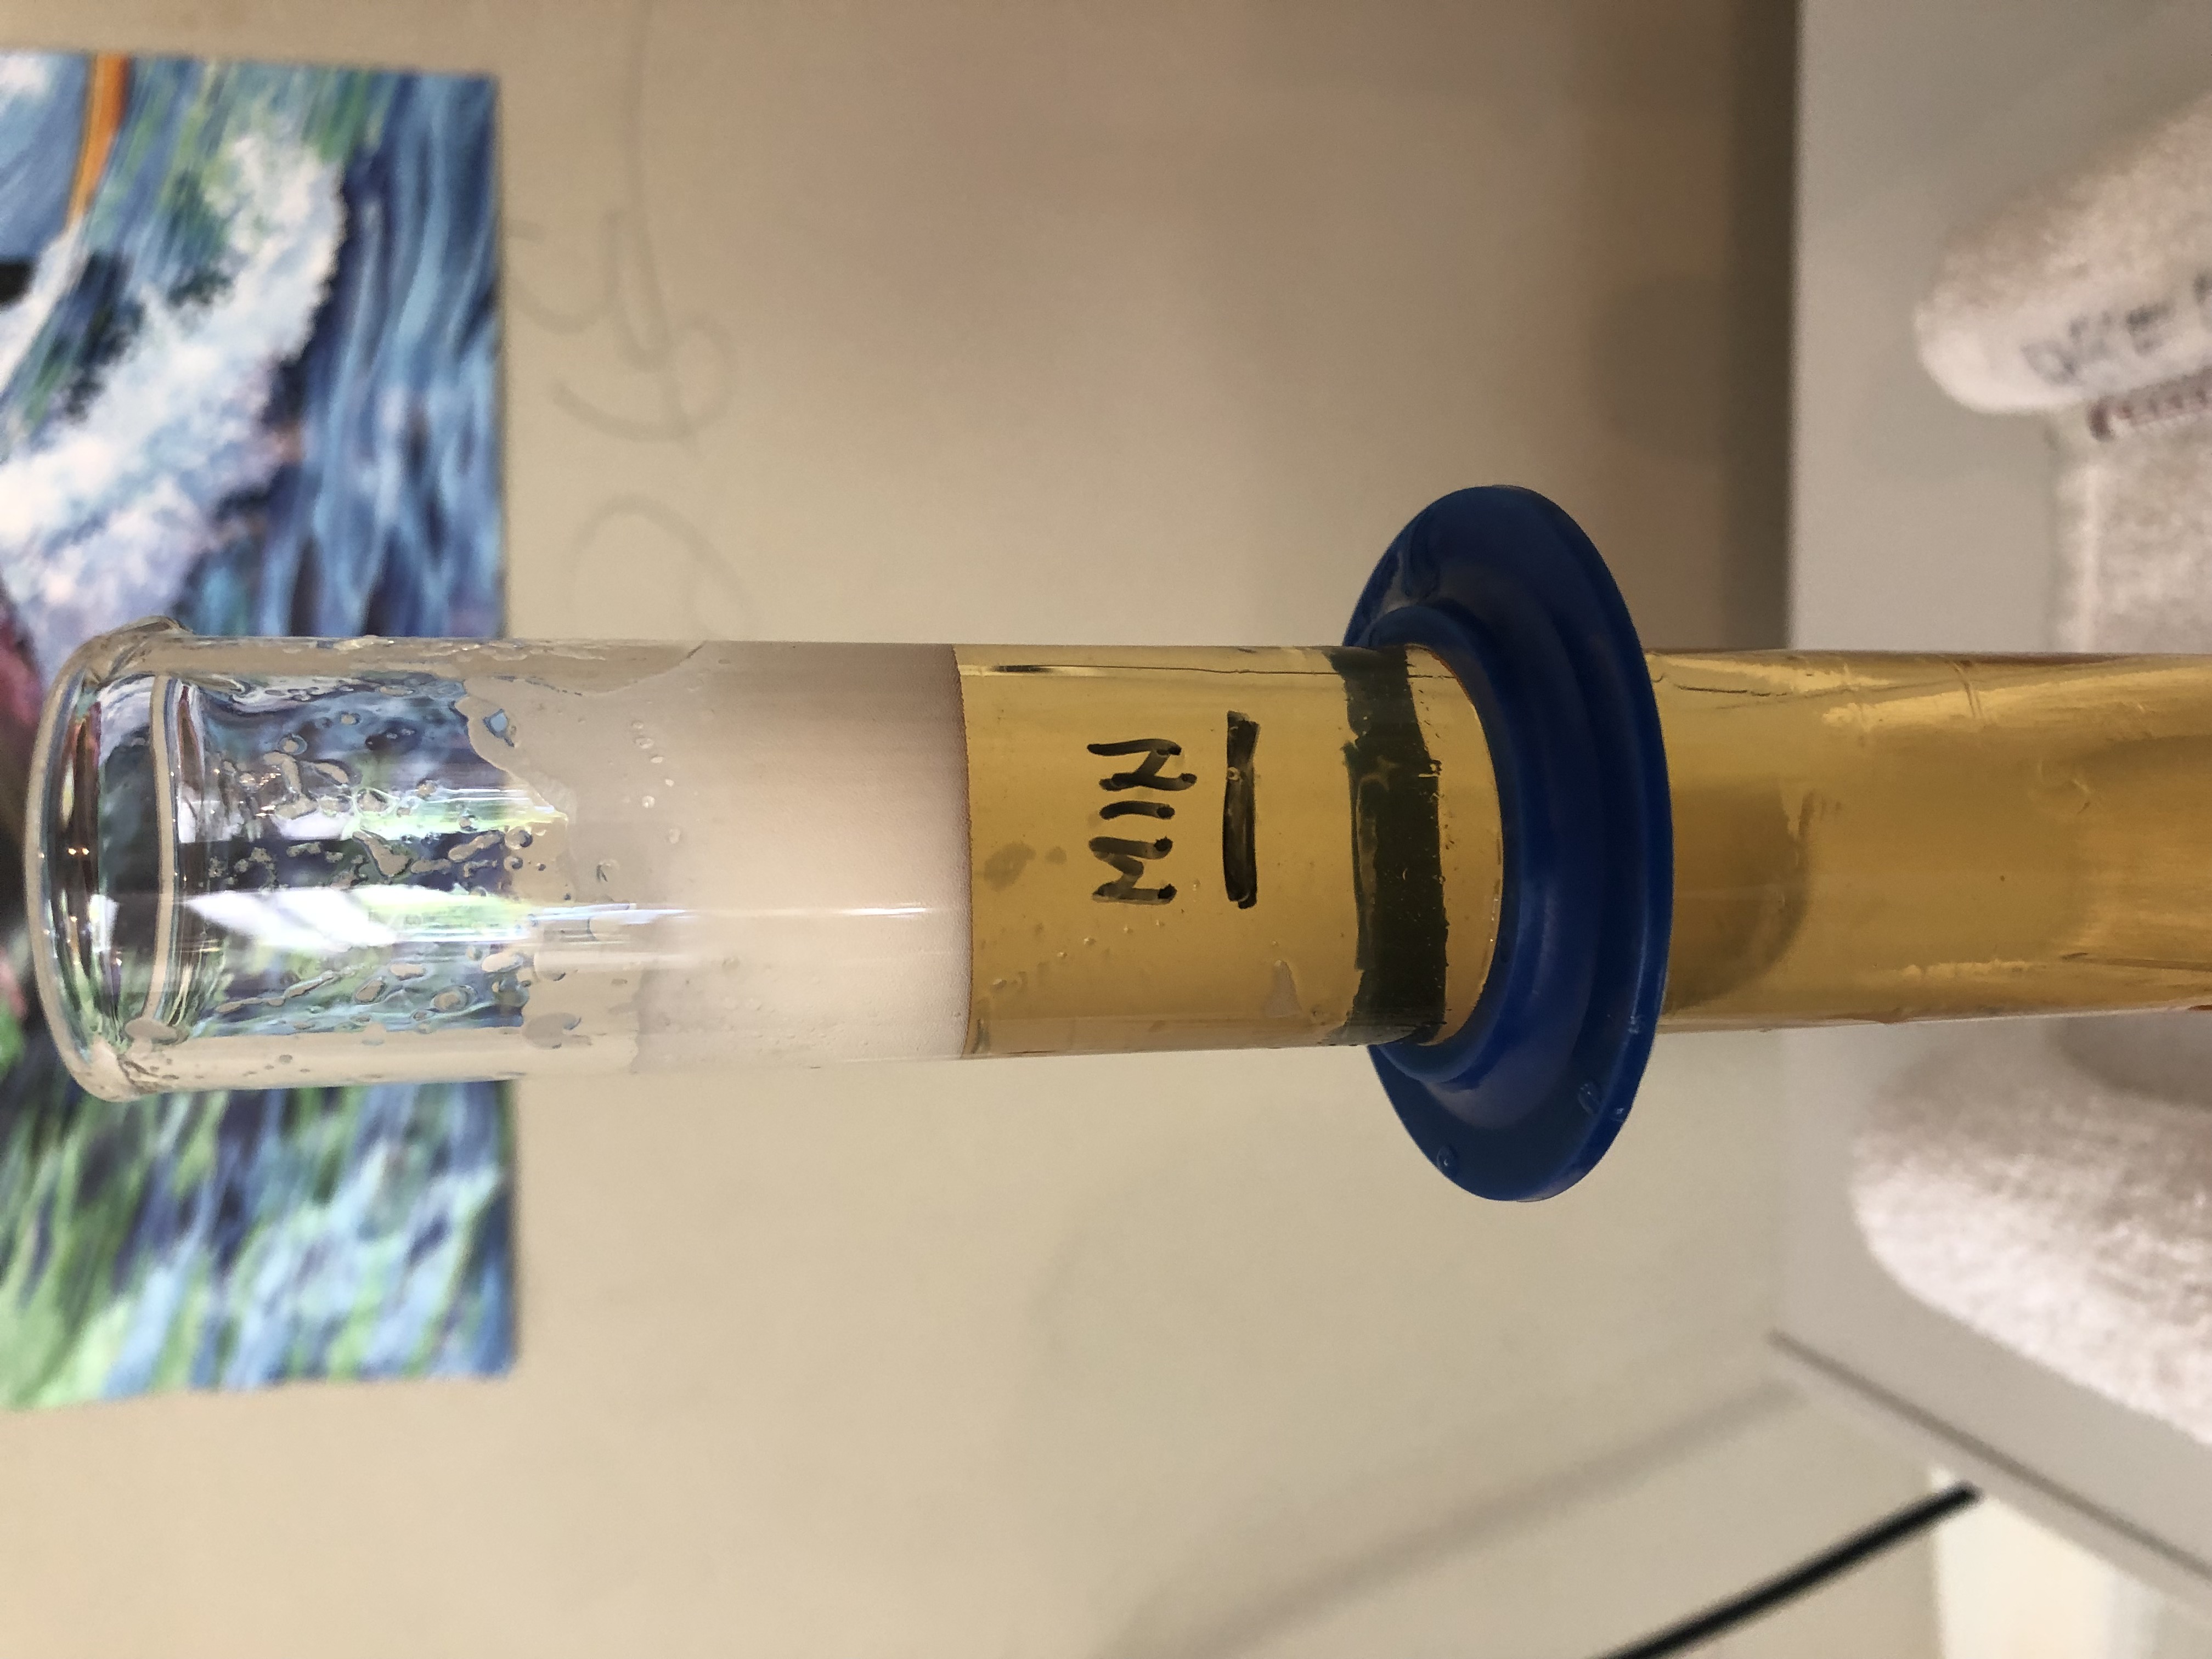
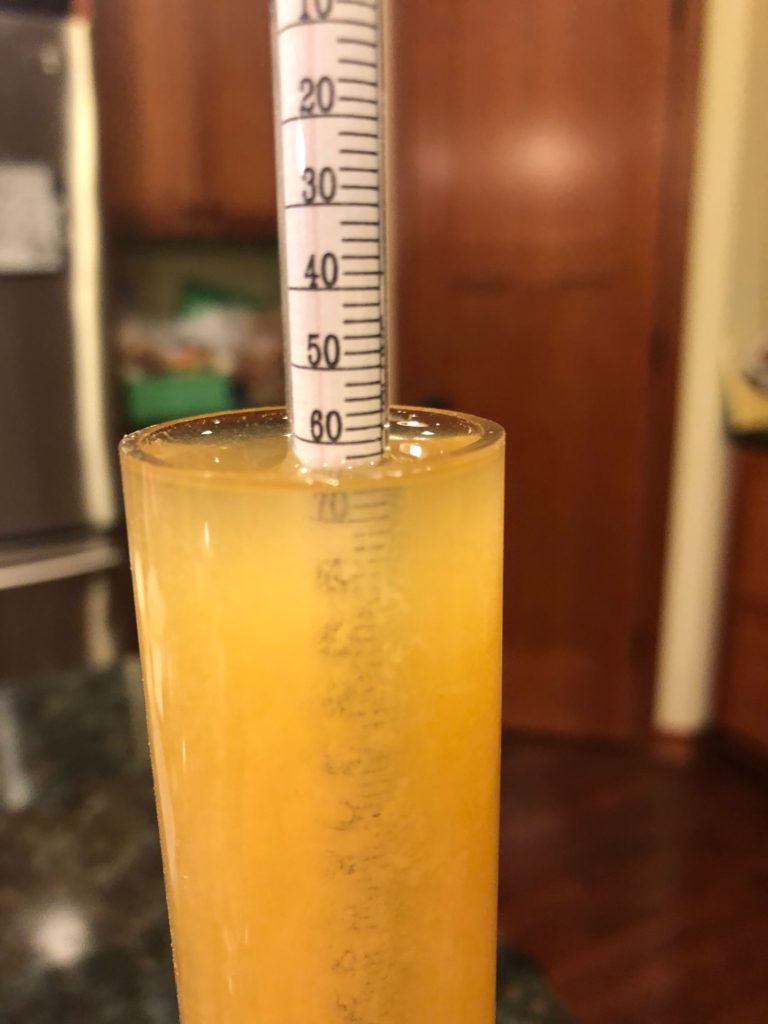
Now degassed, this is a good sample, well above the “minimum fill line. Don’t worry about the foam, 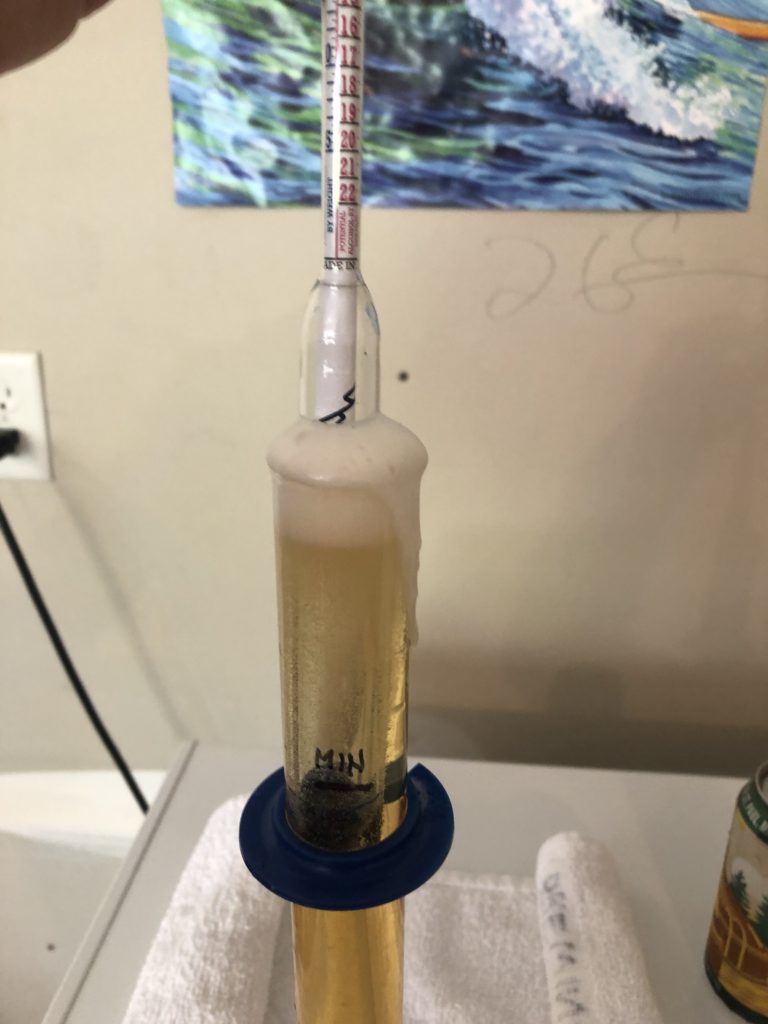
Lower the hydrometer slowly 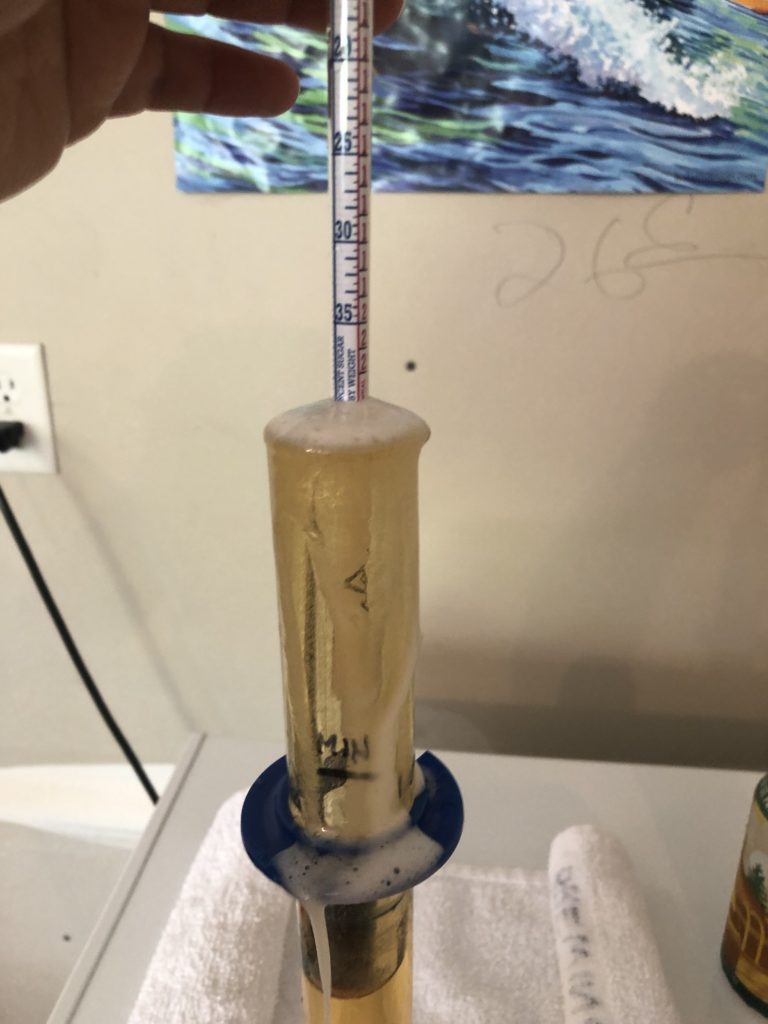
Let the sample overflow! 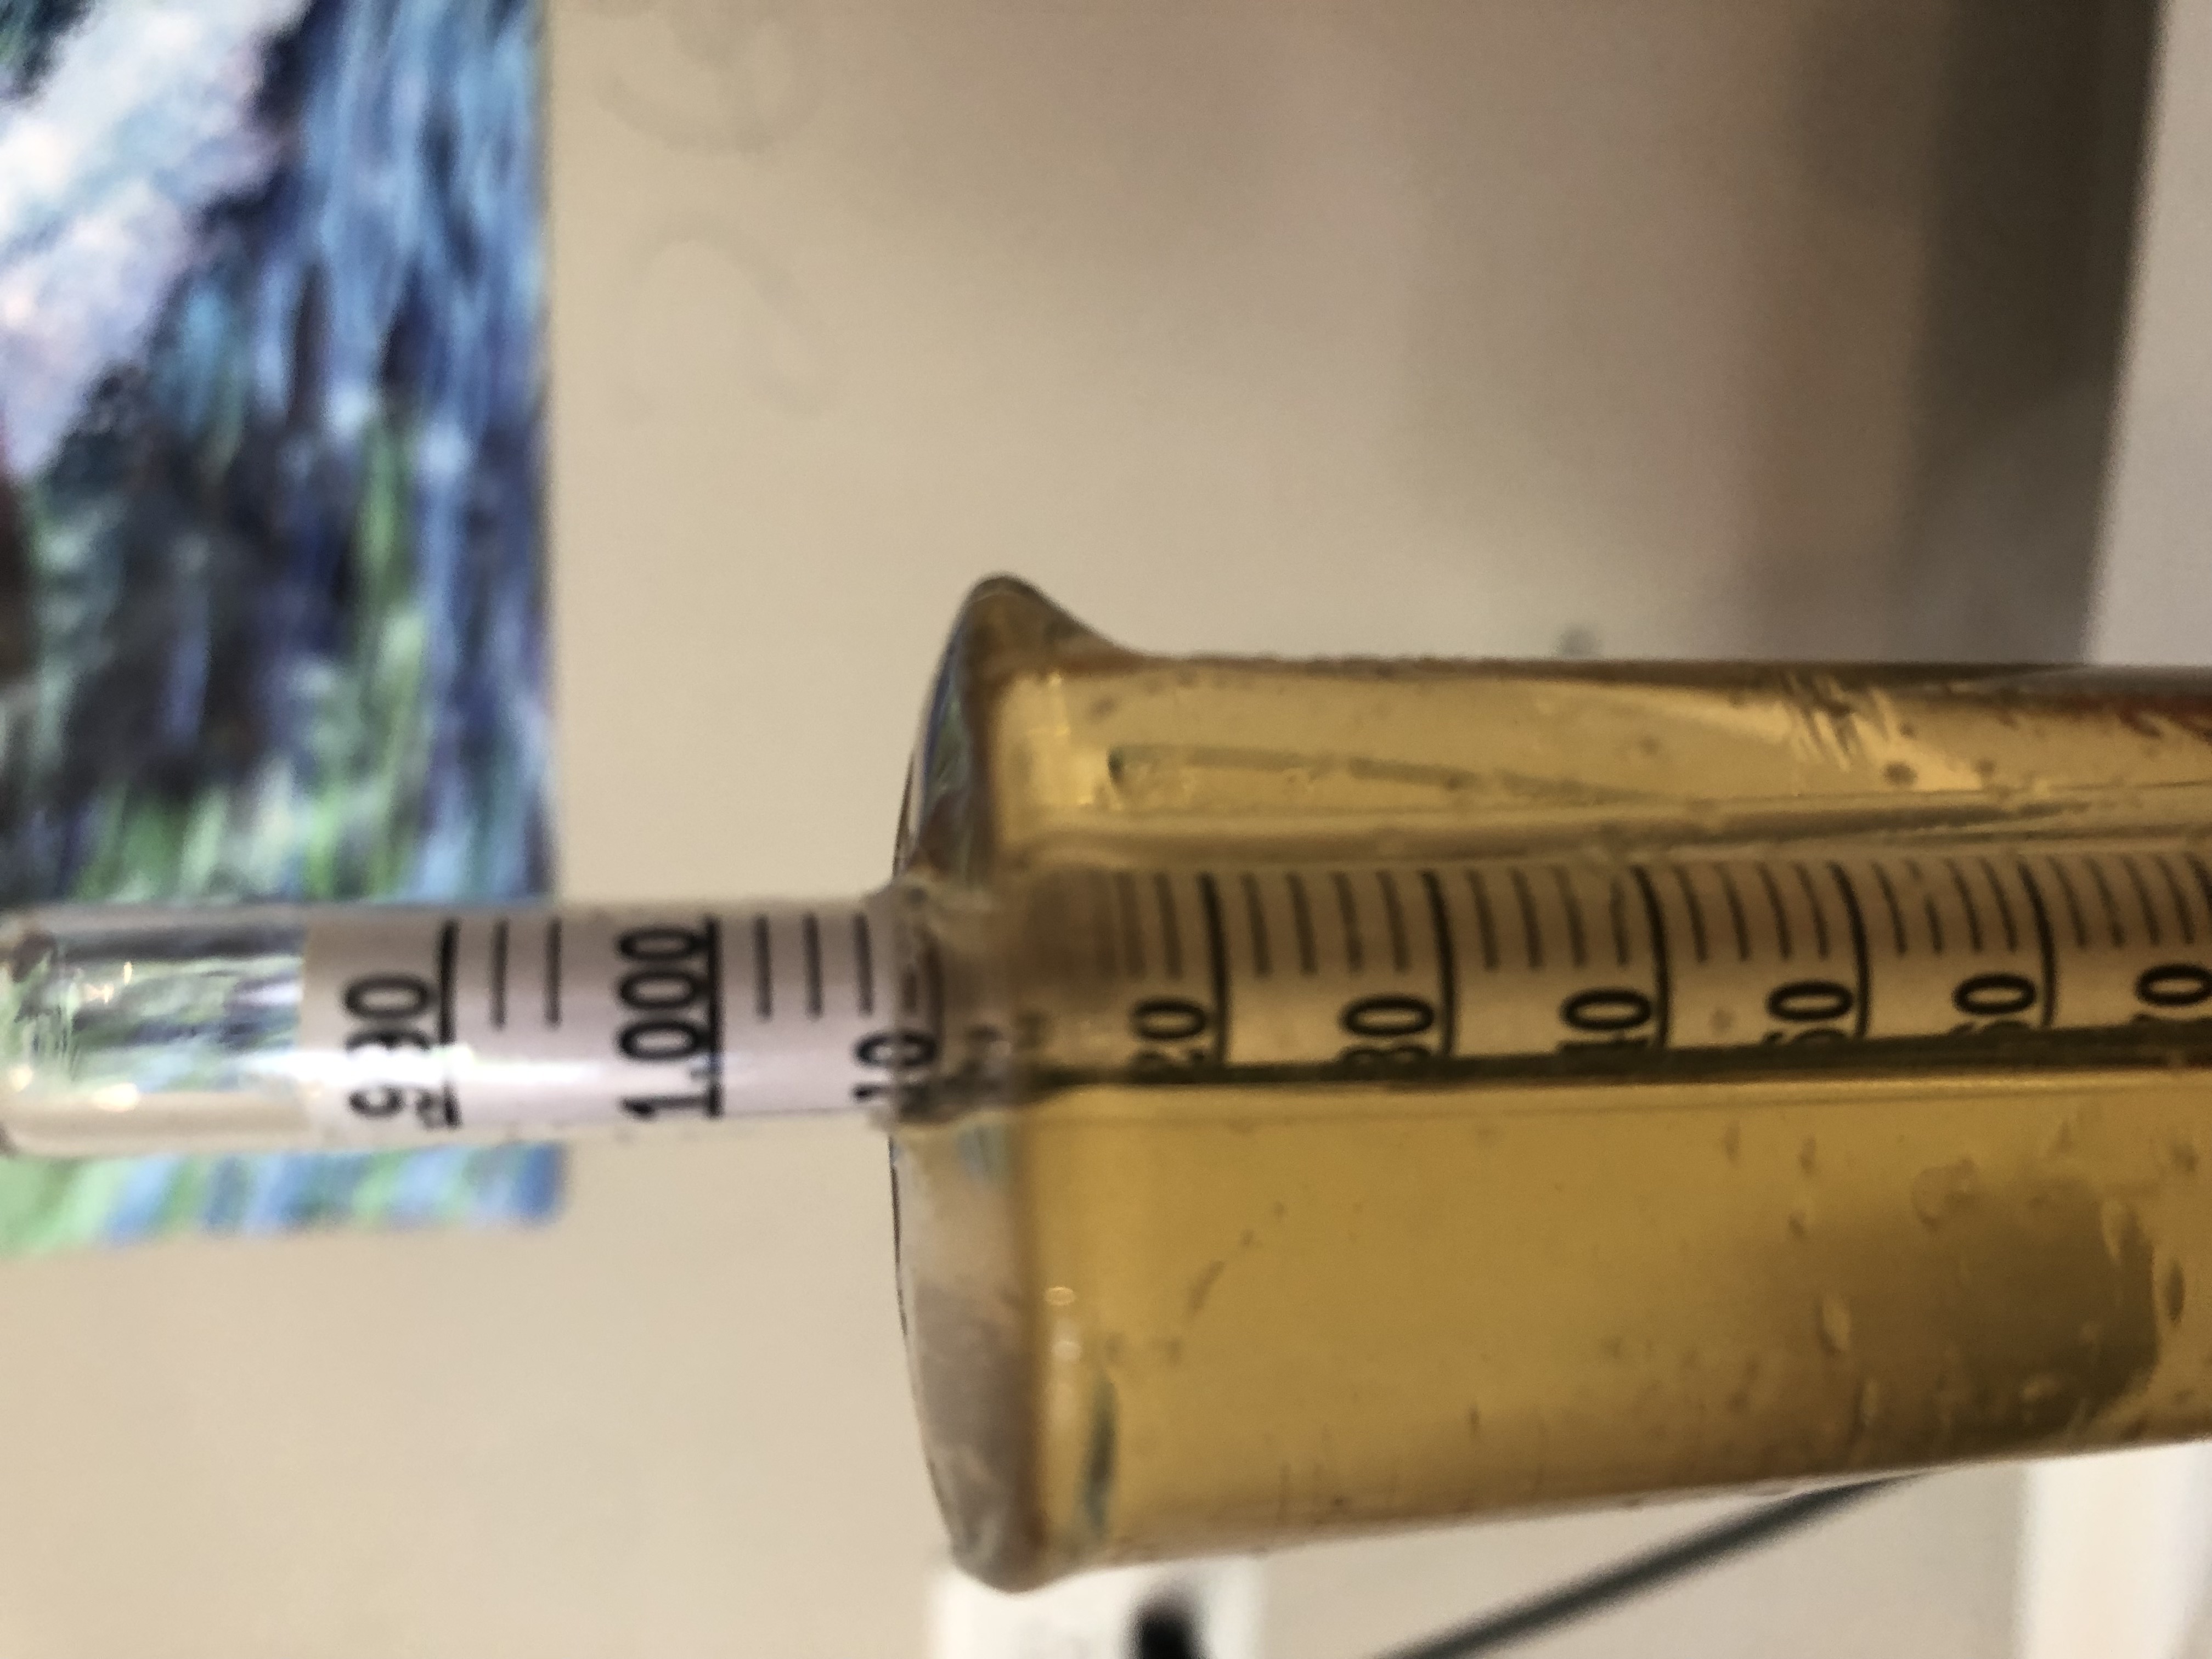
Most of the foam spilled over and I blew away the rest of the foam. Great view of the hydrometer scale. However, the sample tube is not level! 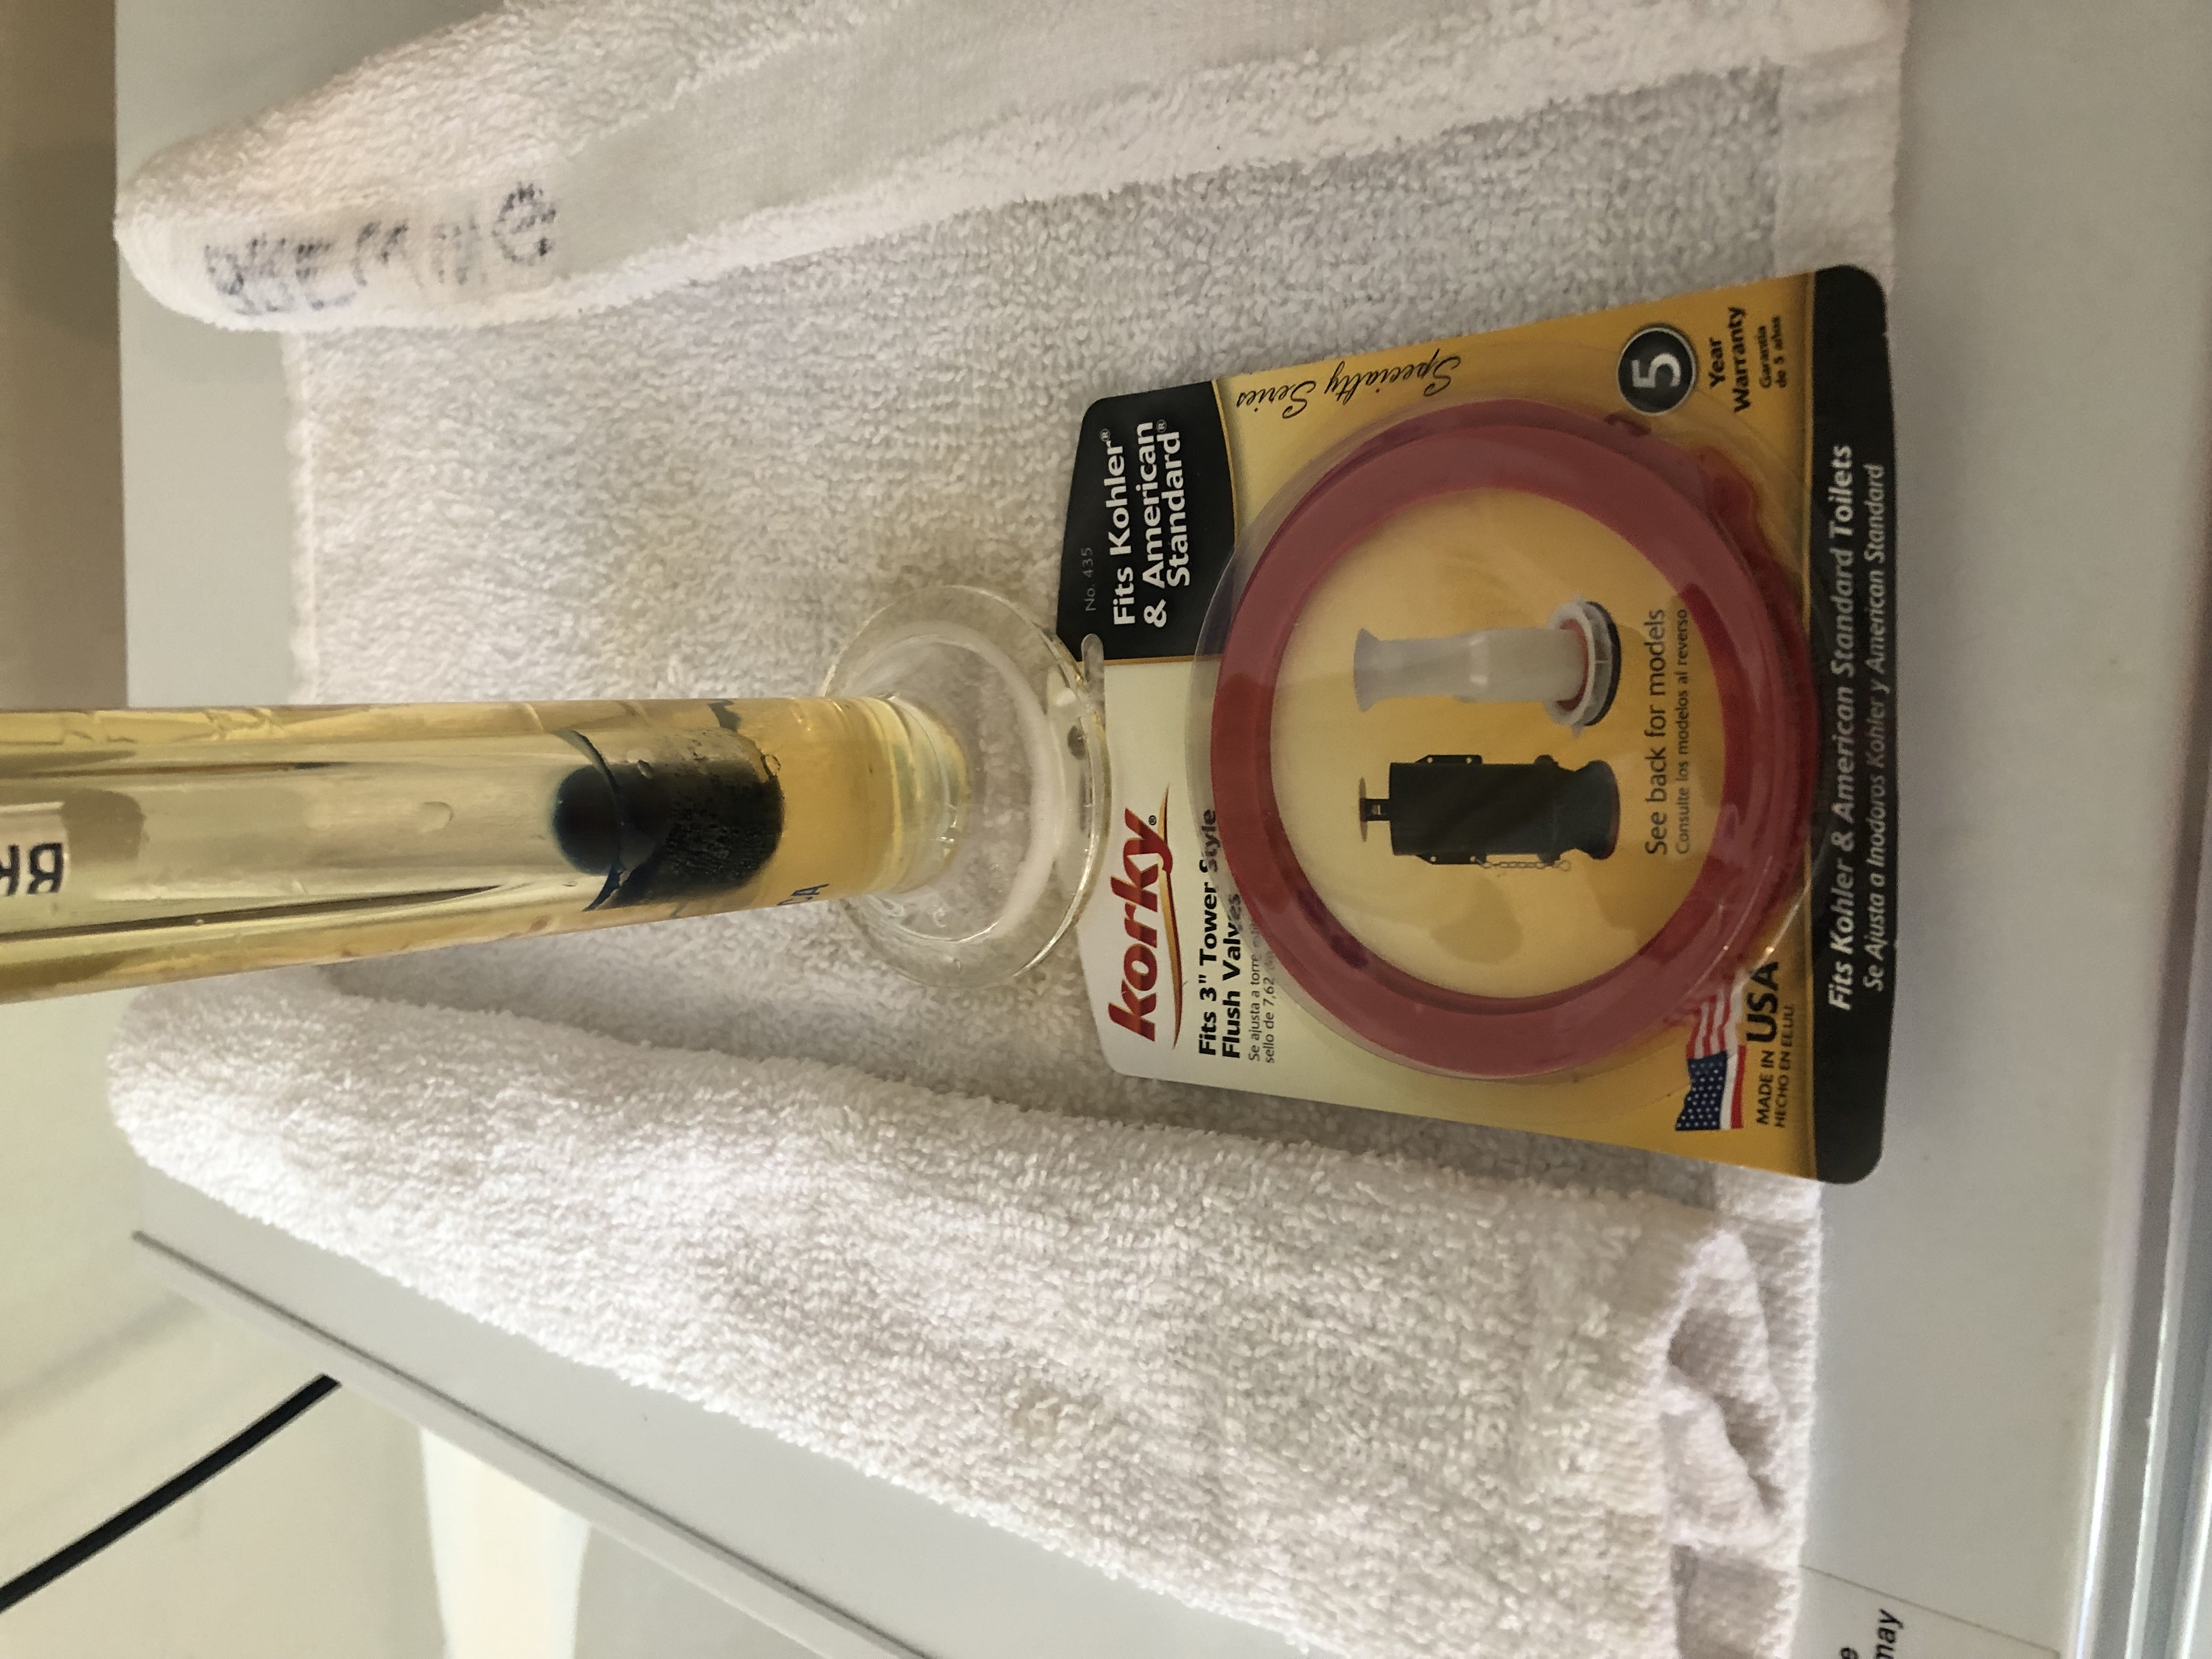
I shimmed the sample tube with a piece of cardboard to level it. 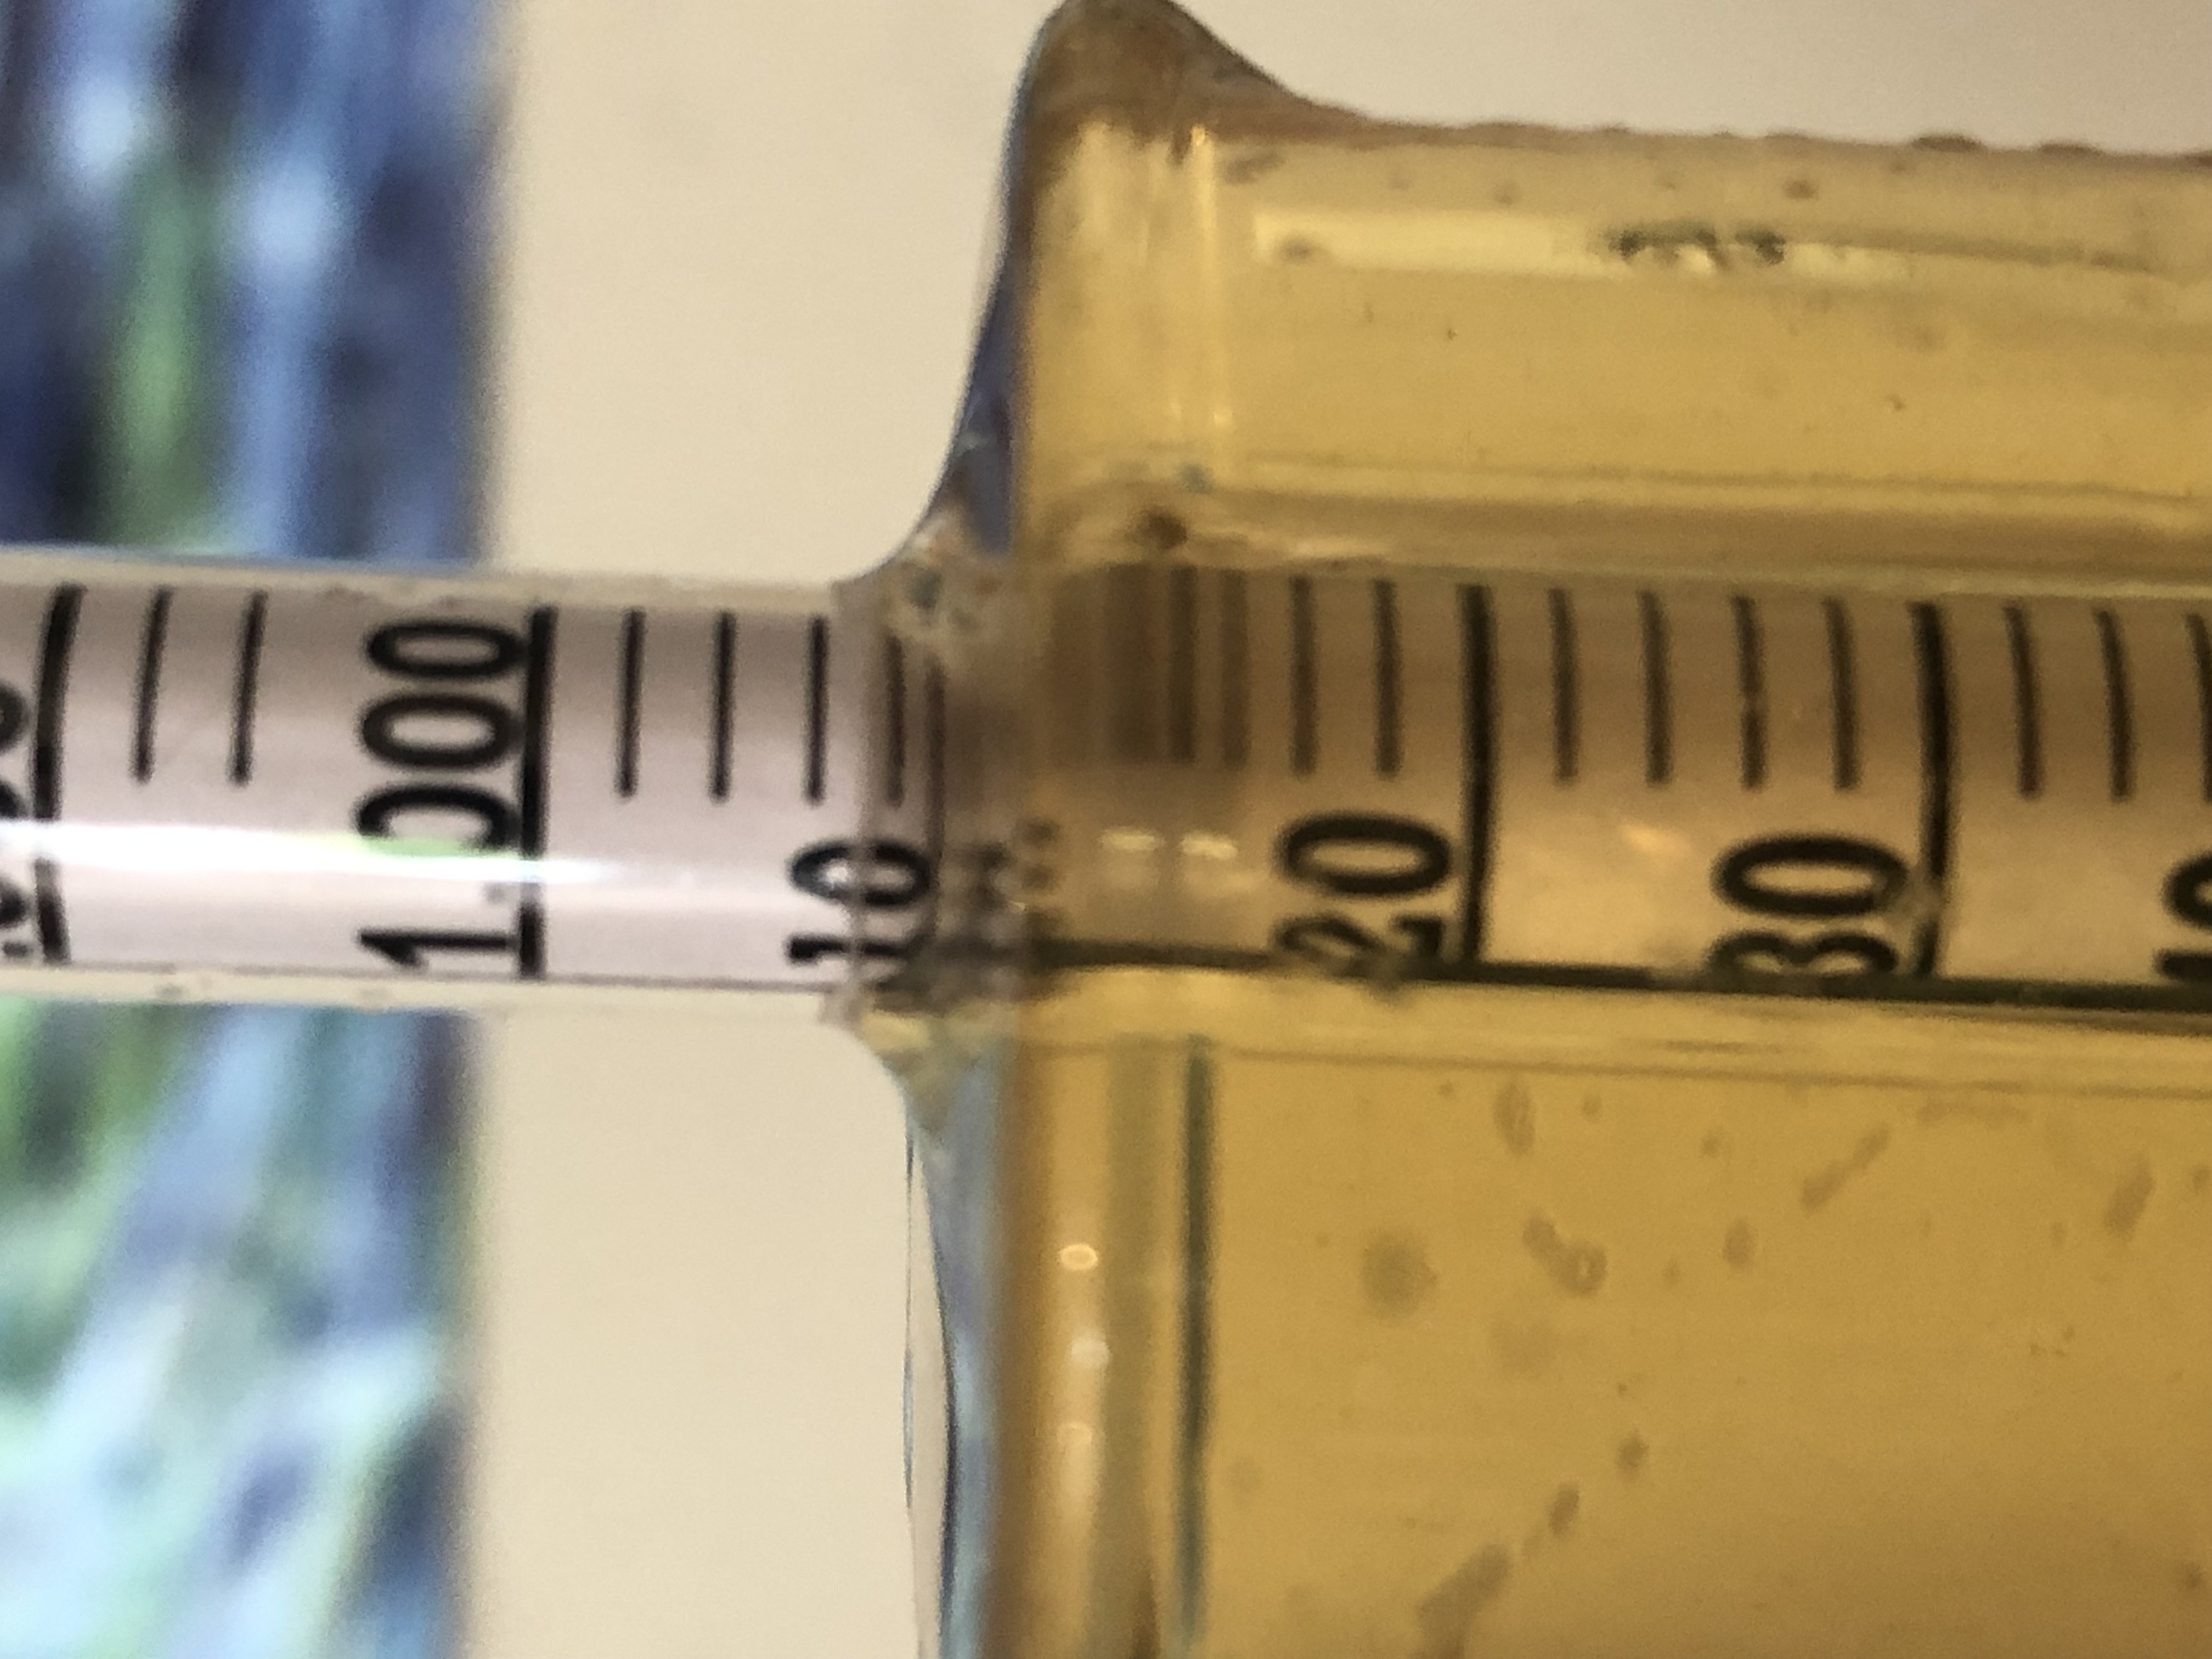
Get eye to eye with the sample level so you can clearly see the bottom of the meniscus. I should have used a precison, finishing hydrometer, but this is clearly at 1.010 SG.
Measuring the Gravity
Finally, we get to the meat of the issue! If you want to follow the textbook technique to check your gravity reading, here is how:
- Calibration Temp. Check your hydrometer’s calibration temperature, which is listed on any hydrometer of any quality.
- The Fill Line. Be sure that the testing cylinder has your minimum fill line marked on it (see above).
- Sample Temp. Attemperate the hydrometer sample to within 10°F (5-6°C) of the hydrometer’s calibration temperature. Attemperate is a five dollar word meaning bring it to that temperature.
- De-gas. De-gas the sample if it has visible CO2 bubbles. Common methods include gently shaking up the sample in a jar or pouring the sample back and forth between two jars.
- Fill to the Line. Fill the testing cylinder with liquid up the minimum fill line or higher, not including foam.
- Spillage is OK/Expected. You might get a bit of overflow, so move the tube to somewhere where you can contain spillage. I find that a small cookie sheet does the job, as does testing next to the sink.
- Lower Gently. Gently lower the hydrometer into the sample and spin it like a top as you let go. Spinning the hydrometer helps keep any bubbles from clinging to the hydrometer, which might throw off your reading.
- NEVER DROP THE HYDROMETER INTO THE TUBE because it can bottom out and crack or the sudden jolt can throw off the hydrometer’s calibration. Allowing the sample fluid to come higher on the hydrometer than necessary can also throw off hydrometer readings, so I advise against dunking or dropping the hydrometer.
- No Bubbles Please. Gently blow any bubbles away. You should have the sample coming up to the top of the testing cylinder. This is a key point because you need to be able to get at eye level to the meniscus (see figure) and have a clear view of it in order to get a good reading.
- Inspect. Now step back and check the setup. If the sample is half sediment, so that the bottom of the hydrometer is sitting in sludge, you may not get a good reading, and you need to fix that (see above). Likewise, if the hydrometer is rubbing against the side of the cylinder it will impact the reading. If any bubbles are clinging to the hydrometer, spin the hydrometer again to get them off. Likewise, blow off any foam or particles clinging to the hydrometer.
- Adjust the Setup. If the testing cylinder is not sitting straight up and down, you can shim one side until it is level. I have found that a piece of plastic from a vacuum sealing bag is the perfect thickness to shim many cylinders.
- Find True Level. Several technical guides suggest that you can find the true level of the hydrometer by pressing it down about two scale intervals (lines) and releasing it with a rotating motion. Avoid wetting the hydrometer’s stem any higher than necessary because that can throw off the reading.
- Get “Eye-to-Eye”. Once the setup is fine, bring your eye right down to the level of the fluid and check the reading.
- Check at the Meniscus. The reading should be taken at the bottom of the meniscus. If the liquid is too dense to see the bottom of the meniscus, estimate the bottom if you can. It is also OK to read the top of the meniscus and then correct by using the division (line) that is 2 mm below the division at the top of the meniscus (correction estimate derived from Table 5, British Standard Specification for Density Hydrometers, BS 718:1991).
Conclusion
I hope you’ve learned a bit about hydrometers and how to use them.
The second (and last) part of the article will be coming up soon, and will cover topics like the various scales on hydrometers, the importance of sample temp, how to measure liquids that are “off the scale” like huge meads and imperial stout worts, and mistakes to avoid. Meanwhile don’t forget to check out our podcast episode on hydrometers with Karl and Angela Hove of Brewing America!
Meanwhile, if you have something to say or ask on hydrometers, please leave us your contacts below or use the contact form.
Helpful Links
- British Standards for Hydrometers, BS-00718 (1991)
- National Institute of Standards and Technology Circular on Testing Hydrometers
- Brewing America, a source for American-made, precision, NIST-traceable hydrometers
One thought on “Floating Up: Going Deep on Hydrometers, Part 1 of 2”
Comments are closed.