Support the podcast and sign up for Brewfather for free: https://brewfather.app/?via=homebrewingdiy
Get ad-free versions of the show! Sign up for the basic level its only $1 a month on https://www.patreon.com/homebrewingdiy
I am always looking for DIY projects to feature on this show. When I saw some of the things the Giovannni Giannetti had built as part of his home malting process I knew I had to have him be a guest. So today we are going to talk about the process of home malting and talk about some of the amazing projects Giovanni has built today on Homebrewing DIY.
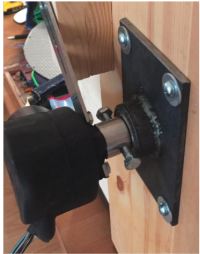
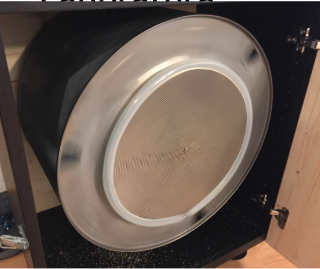
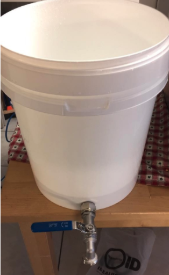
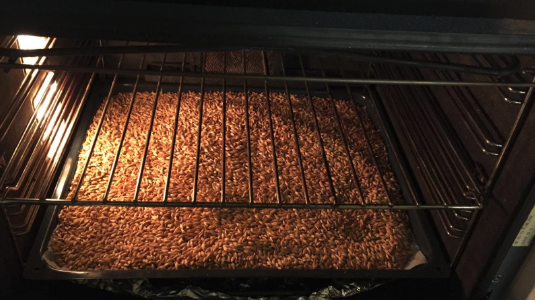
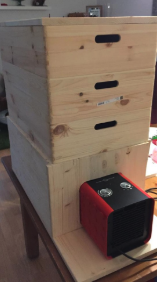
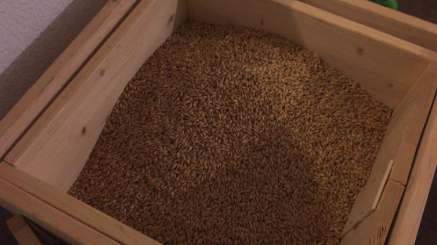
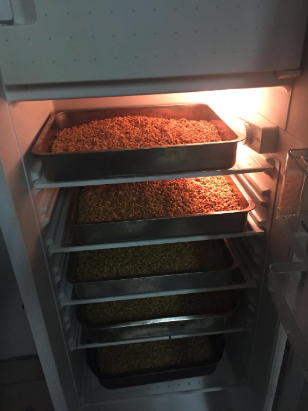
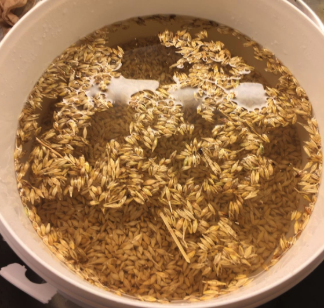
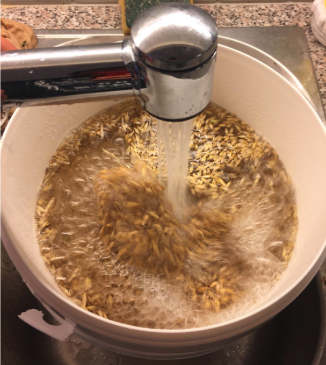
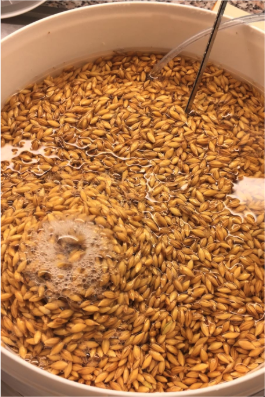
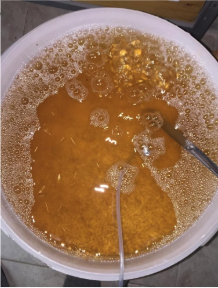
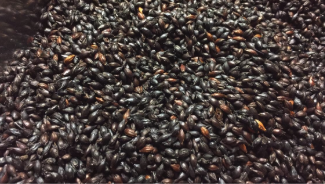
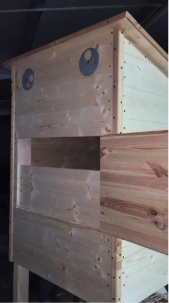
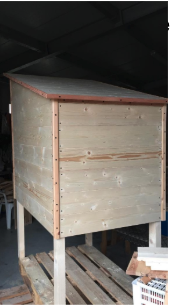
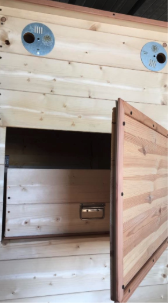
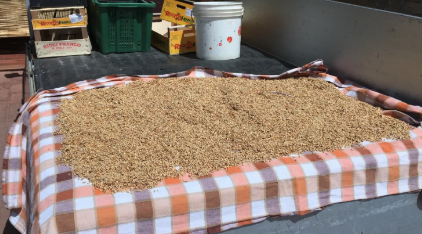
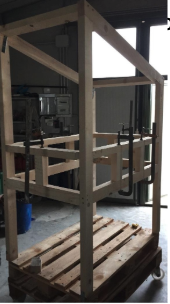
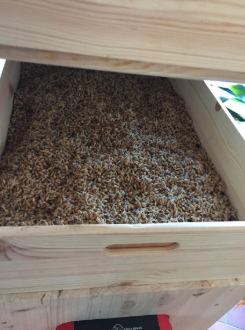
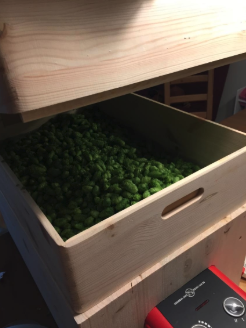
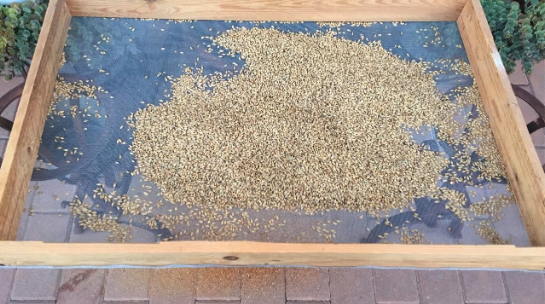
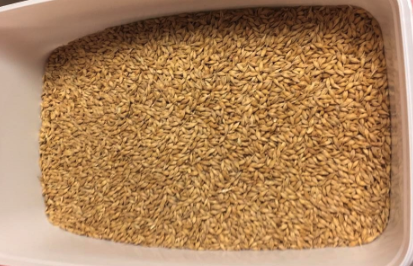
Here are some photos of Giovanni’s mating setup:


Links related to today’s podcast topics:
Home Malting Books:
Malting at Home: https://amzn.to/31EmLNE
The Homebrewer’s Garden: https://amzn.to/2MzVoA9
Tha Malting Logbook: https://amzn.to/31EYNSG
Facebook groups:
(Italian) Maltazione Casalinga: https://www.facebook.com/groups/451198141947794/
Hobby and Professional Maltsters: https://www.facebook.com/groups/407322023367882/
Brewing Beer the Hard Way is a great blog too: https://brewingbeerthehardway.wordpress.com/
Giovanni’s notes on the malting process:
The process consists of 4 main steps:
- Cleaning and grading the barley
- Steeping
- Germination
- Kilning and curing
Cleaning and grading: dust, small or broken grains, insects and everything that is not grain must be removed. Only the grains with a diameter bigger than 2,5mm will be used for malting.
Steeping(2 days):
Alternation of water and air rests. the grains are soaked in cold water (13 °C = 55 °F) and then drained.
An example of steeping schedule : 5 hours water rest, 20 hours air rest, 3 hours water rest, 20 hours air rest, 1 hour water rest.
During the water rest oxigenation with an air pump is required.
At the end of the steeping the moisture inside the grains rised from about 6% to 38%-48%, depending on the kind of malt (the higher the moisture, the darker malt. 38% is for pilsner malt).
I measure the moisture drying 10 grams of grains very very fast in the microwave oven 😊
Germination(5 days):
during the steeping the grains will start sprouting, you let them germinate at low temperature (13 °C = 55 °F) turning them 3 times a days. Why low temperatures and turning? Because we want a uniform germination.
For dark malts the temperatures are higher.
End of the germination phase: length of the acrospire and modification.
Rub test to see if the malt is modified: broke one grain and push out with the fingers the starch over your hand. If it is chulky is ok, if it makes small balls it is not well modified.
Now you have green malt.
Kilning and curing (1 day):
drying the green malt to make it storable.
Hot air flow (electric heater and fan) with temperatures and times depending on the recipe.
Important: not to activate the enzymes!! <10% moisture before heating up more than (60° C 140 °F)
Show links and Credits:
The website is now live! Check out more detailed show notes and images at https://homebrewingdiy.beer
Support this podcast: http://patreon.com/homebrewingdiy
Follow the show on Twitter, Facebook, and Instagram: @homebrewingdiy
Email feedback to podcast@homebrewingdiy.beer
Music:
Intro Music: SUNBIRDS by BOCrew (c) copyright 2012 Licensed under a Creative Commons Attribution (3.0) license. http://dig.ccmixter.org/files/BOCrew/38854 Ft: THEDEEPR / THECORNER / feat : FORENSIC
Not enough Horsefeathers by Fireproof_Babies (c) copyright 2008 Licensed under a Creative Commons Attribution (3.0) license. http://dig.ccmixter.org/files/Fireproof_Babies/13115 Ft: duckett, kulimu
Paper Planes – Durden ft. Airtone by DURDEN (c) copyright 2016 Licensed under a Creative Commons Attribution (3.0) license. http://dig.ccmixter.org/files/DURDEN/55041 Ft: Airtone